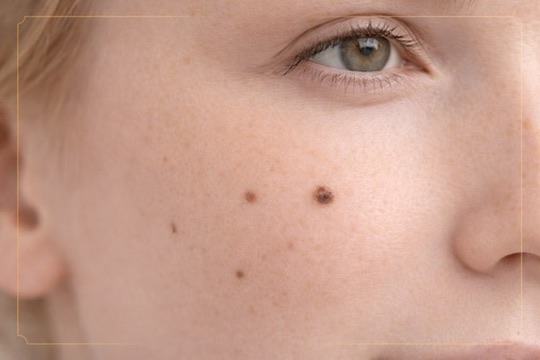
If you have ever stared at a mole trying to remember whether it always looked like that, you already know the problem: human memory is a terrible measuring tool. We do not notice slow change, and we tend to either panic or talk ourselves out of it. A photo taken three months ago does not have that problem. It just shows you what was there.
This guide is about doing that well, so that you have a clear record instead of a vague worry.
This article is informational and does not diagnose anything. Skinalyze AI helps you track visible changes over time, it does not replace a dermatologist. Any new, changing, itching or bleeding mole should be checked by a professional.
First, what actually counts as a change?
Not every difference is meaningful, and a slightly different photo is not proof of anything. The signs worth paying attention to are the ones dermatologists look for, often summarised as the ABCDE rule:
- Asymmetry, one half does not match the other.
- Border, edges that are ragged, blurred or uneven.
- Colour, more than one shade, or colour that is changing.
- Diameter, larger than a pencil eraser, or growing.
- Evolving, any change in size, shape, colour, or new itching, bleeding or crusting.
The single most important word there is evolving. A mole that is changing is far more worth a dermatologist's attention than one that has simply always looked a bit unusual. If you want the full breakdown, we cover it in the ABCDE rule for moles.
Why photos beat memory every time
The whole reason this is hard is that change is gradual. A mole that grows a fraction of a millimetre a month is invisible day to day, but obvious across six months, if you have the photos to compare. A dated photo turns "I think it might be bigger?" into something you can actually see, and something a doctor can act on.
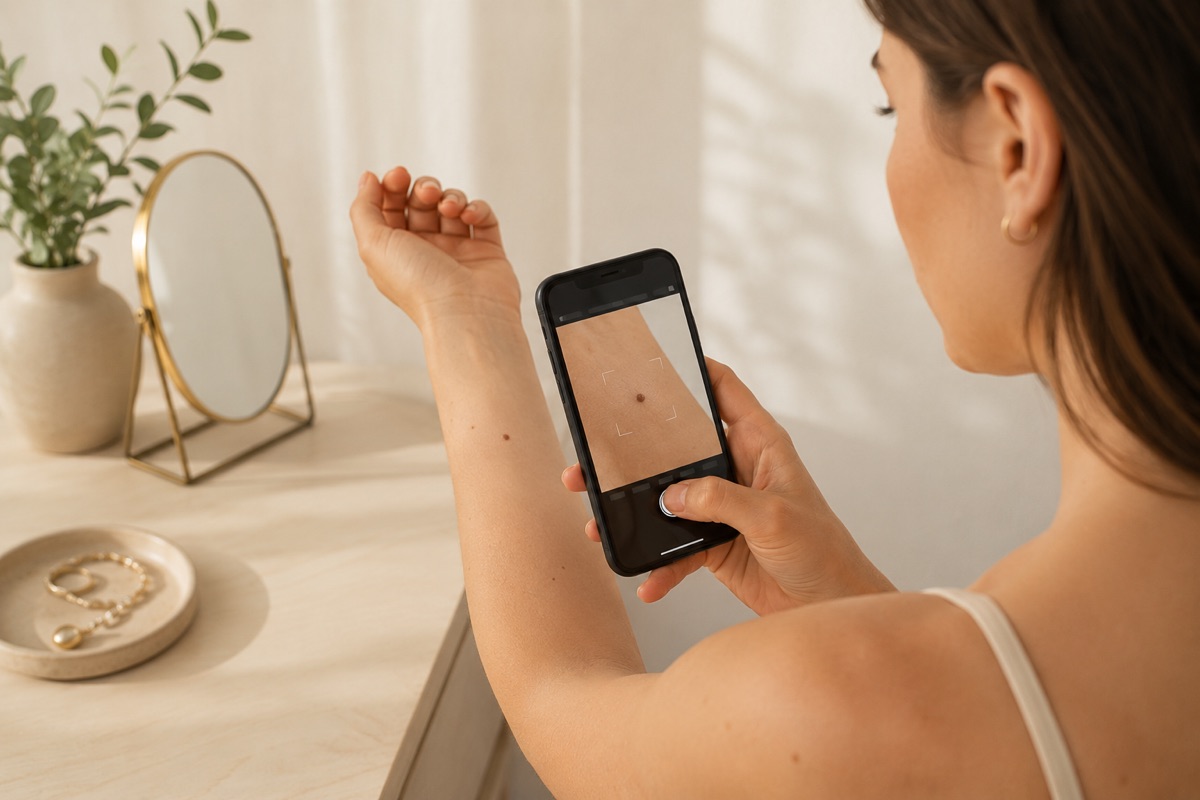
How to photograph a mole at home
Consistency is everything. The goal is that the only thing different between two photos is the mole itself, not the light, the angle or the camera. A few simple rules get you most of the way:
- Same light, every time. Soft natural daylight near a window, never direct sun and never flash. Flash flattens colour and hides texture.
- Same distance and angle. Get close enough to fill the frame but keep the camera steady and roughly the same distance each time.
- Add a size reference. Place a ruler, or something fixed like a coin, next to the mole. It makes growth obvious and is hard to fake with memory.
- Clean the lens, skip the filters. A smudged lens softens detail, and beauty filters quietly change colour and smooth texture, which is exactly what you do not want.
- Label and date it. "Left shoulder, near collarbone" plus the date. If you track more than one spot, each needs its own timeline.
Try to photograph the same spot under similar conditions each time. Consistency is the single thing that makes small changes easy to notice.
How often to check
For most people, a quick look in the mirror once a month and a photo every one to three months is plenty. Pick a day that is easy to remember, the first of the month works well. The exception is simple: if you ever notice something looks different, photograph it that day and compare it with your earlier shots, rather than waiting for the next scheduled check.
Common mistakes when tracking a mole
A few habits quietly make a photo log useless, and they are all easy to avoid:
- Taking photos in different lighting each time.
- Using beauty filters or portrait mode, which smooth and reshape the image.
- Comparing photos shot from different distances or angles.
- Waiting until you are already worried to take the first photo, instead of having a calm baseline to compare against.
When to see a dermatologist
The reassuring part is that most moles are completely harmless and stay that way for life. Still, it is worth booking an appointment if a mole is new and you are over your twenties, is clearly changing, itches, bleeds or crusts, or simply looks different from all your other moles, sometimes called the "ugly duckling". A family history of skin cancer is another good reason to get a baseline check. None of this is cause for panic, it is just the point where a professional, not a photo, should take over.
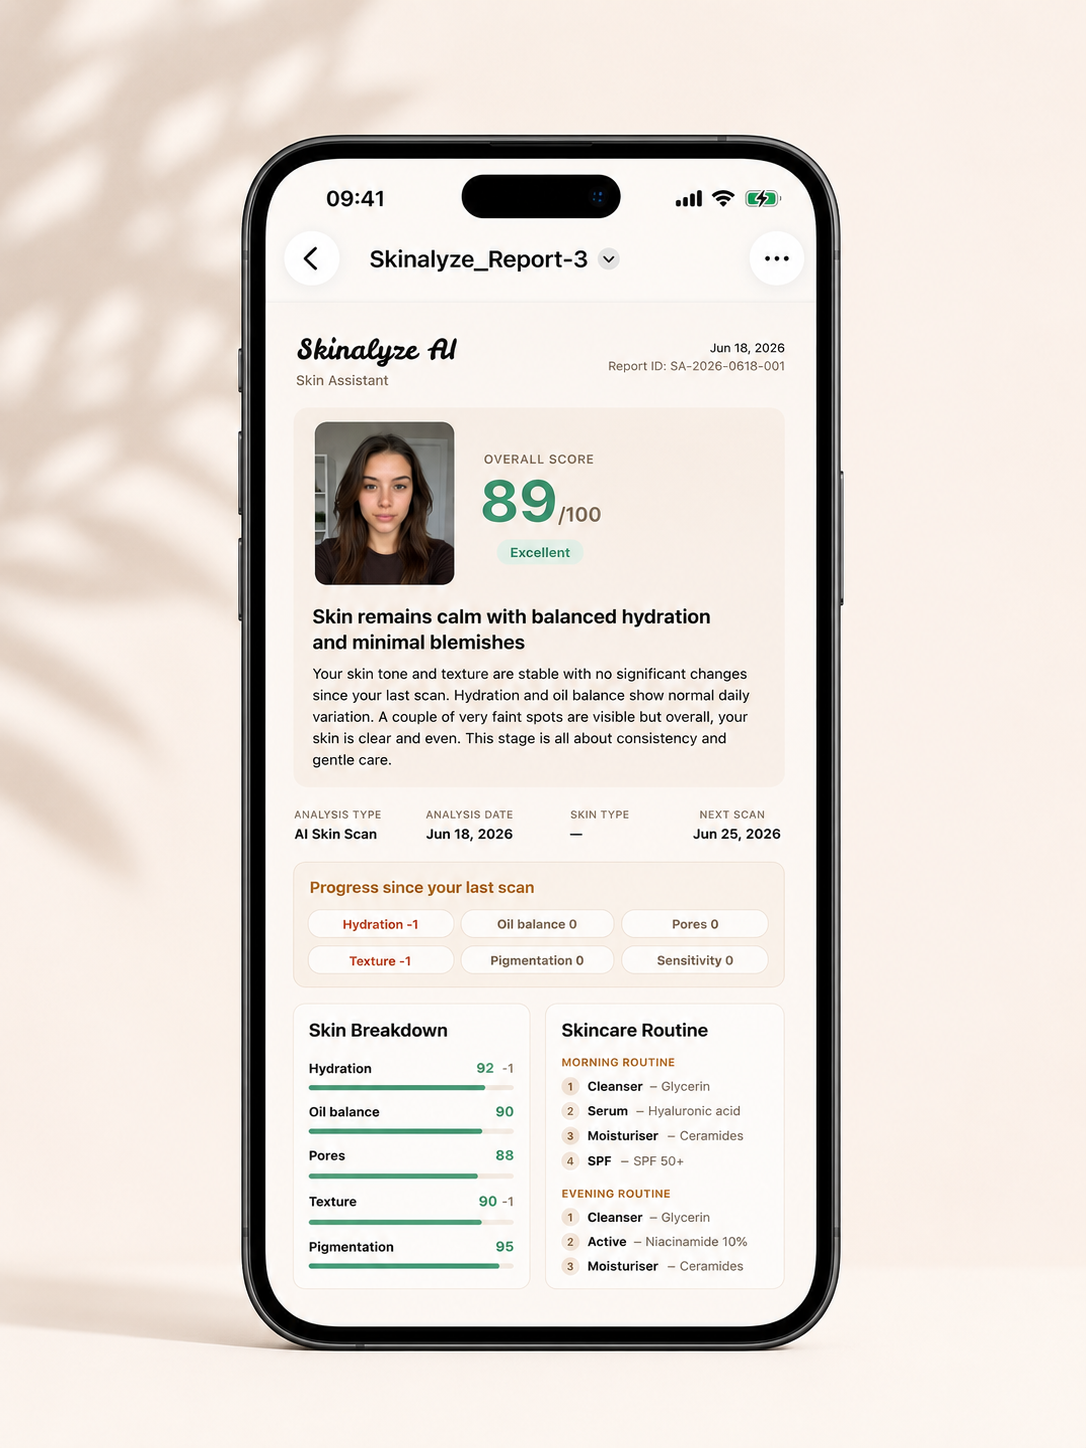
How Skinalyze AI helps you track a mole
This is exactly the kind of slow, easy-to-forget tracking that an app is good at. In Skinalyze AI you can save a dated photo of a specific spot, then come back later and line up your photos side by side to see whether anything has shifted. The app keeps each spot on its own timeline, so instead of "I think it changed", you arrive at your dermatologist with a clear, dated record to compare against.
To be clear about what it is and is not: it is a tracking and awareness tool, not a diagnosis. It cannot tell you whether a mole is dangerous, and it is not meant to. What it does is make the one genuinely useful home habit, consistent photos over time, effortless to keep.
The best time to start tracking a mole is before you are worried about it. Skinalyze AI lets you save dated photos of a spot and line them up over time, so future comparisons are easy.